How To Install Minecraft Mods
Minecraft already offers nearly limitless possibilities within its blocky world. You can do almost anything you want in a playthrough of Minecraft. But if you’re looking for something more, mods allow you to do anything from upgrade the graphics to completely overhauling the game’s core mechanics.
The modding community for Minecraft is enormous and has been around for over a decade. As you can imagine, there is an endless supply of different mods out there to pick and choose from. Choosing the right mods will significantly improve your gameplay experience.
So you might be wondering how to install Minecraft mods? Don’t worry; we’ve got you covered. Today’s blog post is all about how to install Minecraft mods on Java Edition.

Preparation
Before you start installing Minecraft mods, you’ll need to prepare your computer beforehand. There are hardware and software requirements you’ll need to meet. Disclaimer: our guide is specifically for Windows 10 64-bit. Installation procedures may vary if you are using a different OS.
Hardware Requirements
Installing Minecraft mods will generally make the game more challenging to run compared to the base game. You’ll need to make sure your computer is up to the task. Before installing Minecraft mods, please make sure your PC meets the following recommended system requirements.
– At least a Quad-Core CPU: Intel 4th generation i5 or faster / AMD Ryzen 3 2200G or faster
– At least 8GB of RAM, preferably in dual-channel mode
– AMD HD 7790 1GB or Nvidia GTX 750 Ti 1GB minimum recommended. Nvidia GTX 1050 Ti 4GB or AMD RX 470 4GB graphics card for heavier graphics mods.
– A 120GB SSD or larger with at least 5GB free space (not necessary, but significantly reduces loading times)
Software Requirements
You’ll also need to make sure your computer’s software is up to date. Make sure your graphics card drivers are updated to the latest version available. Make sure Windows, as well as Java, are also updated.
Minecraft Forge
Now that you’ve sorted out your computer, you’re probably wondering how to install mods. There are a few ways to install Minecraft mods, but the easiest and most popular method is through Minecraft Forge. To install Forge, you’ll need first to download it from their official website. Make sure that the version of Forge you download matches the version of your Minecraft installation.
Once you’ve downloaded Minecraft Forge, it’s time to install it. Find the downloaded file and double-click it. Make sure you have the “Install Client” option chosen, then click the “Ok” button and wait for the installation to complete.
Downloading Your Mods
Now is the time to download your mods. Before you start downloading mods, find the mods folder in the Minecraft directory. You should be able to find this under ‘C:\Users\[yourusername]\AppData\Roaming\.minecraft\’. If you can’t see the AppData folder, click the “View” tab at the top of File Explorer and check the “Hidden items” checkbox.

You can download your mods into this folder. If there is no mods folder present, you can create one by right-clicking inside the File Explorer, selecting “New” from the menu, then clicking “Folder”. Name this new folder “mods”
There are multiple websites to choose from when looking for mods. The most popular website for mods is CurseForge. They have an expansive collection of over 87,000 Minecraft mods. We’d recommend CurseForge as their website makes it easy to navigate and categorize different types of mods. You can find their Minecraft mod list here.
Running Your Mods
Once you have downloaded the mods you want, you can now open the Minecraft launcher. You should see a new profile called “forge” towards the bottom-left of the launcher.
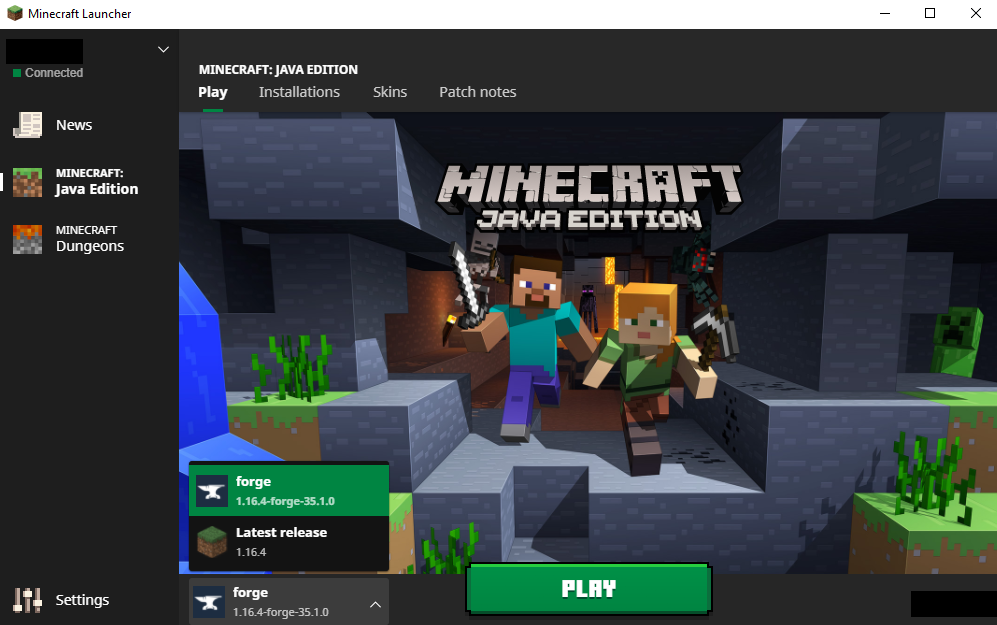
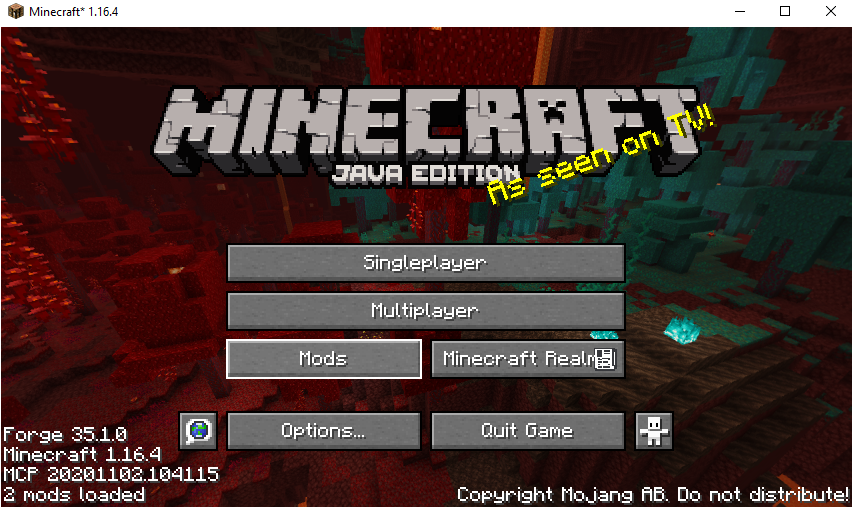
Ensure the “forge” account is selected before you press “Play” so that you can access your mods. Once Minecraft is loaded, press the new “Mods” button.
Then select the “Open mods folder” button and navigate to the ‘C:\Users\[yourusername]\AppData\Roaming\.minecraft\mods’ folder we made earlier.
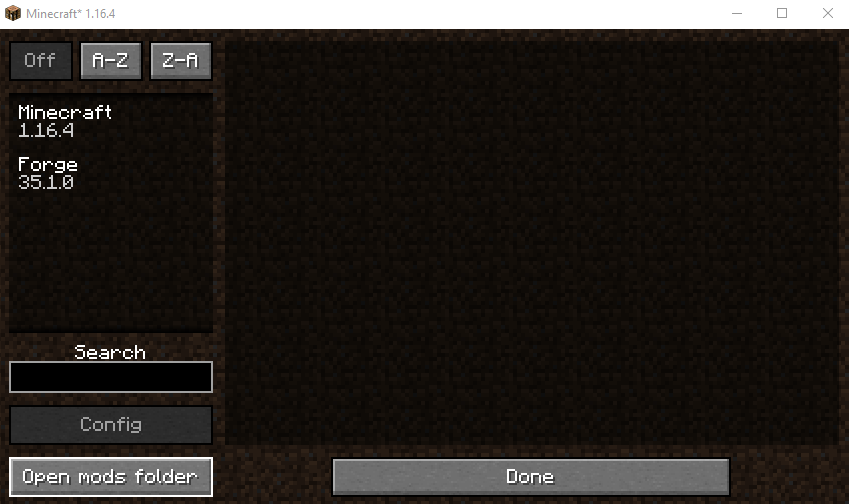
Your downloaded mods should now show up on this page. You can enable and disable them individually from the mods menu.
Enjoy Your Modded Experience
Now that you’ve successfully installed your Minecraft mods, you can go on and experience the game the way you’ve always wanted to. The possibilities are endless and only limited by your imagination. We hope you’ve enjoyed our guide.
Questions and Contact
If you’d like to know more about us and what we offer, or have more in-depth questions or feedback about this blog post, feel free to contact us at info@gobrite.io or 425-665-7799, and we’ll be happy to get back to you.
We hope you’ve enjoyed this week’s blog post!

- Popular Kids Education Platforms Review - February 10, 2023
- Pros and Cons of Opening a Kids Coding Franchise - January 31, 2023
- How can coding help kids reduce screen addiction - January 30, 2023